Start at the saddle interface
Cotton General-Purpose Saddle Pad
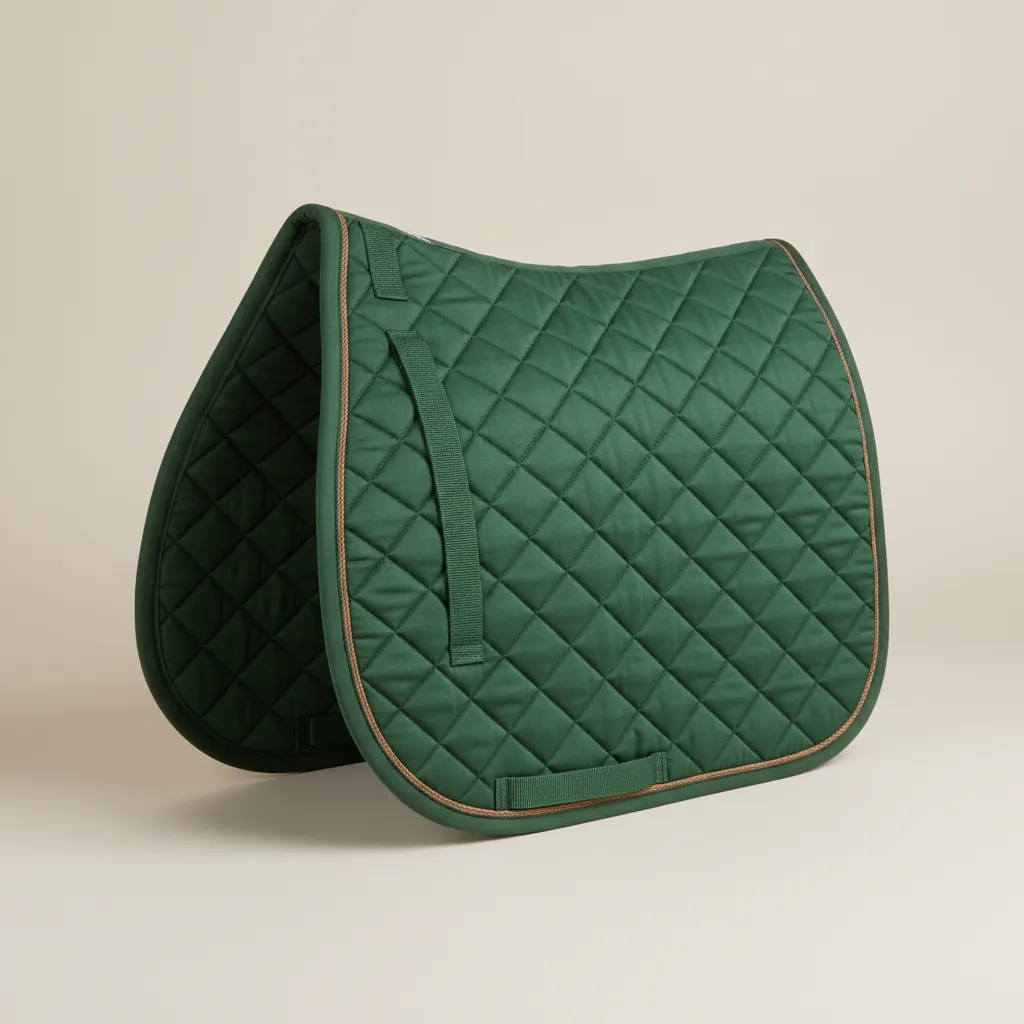
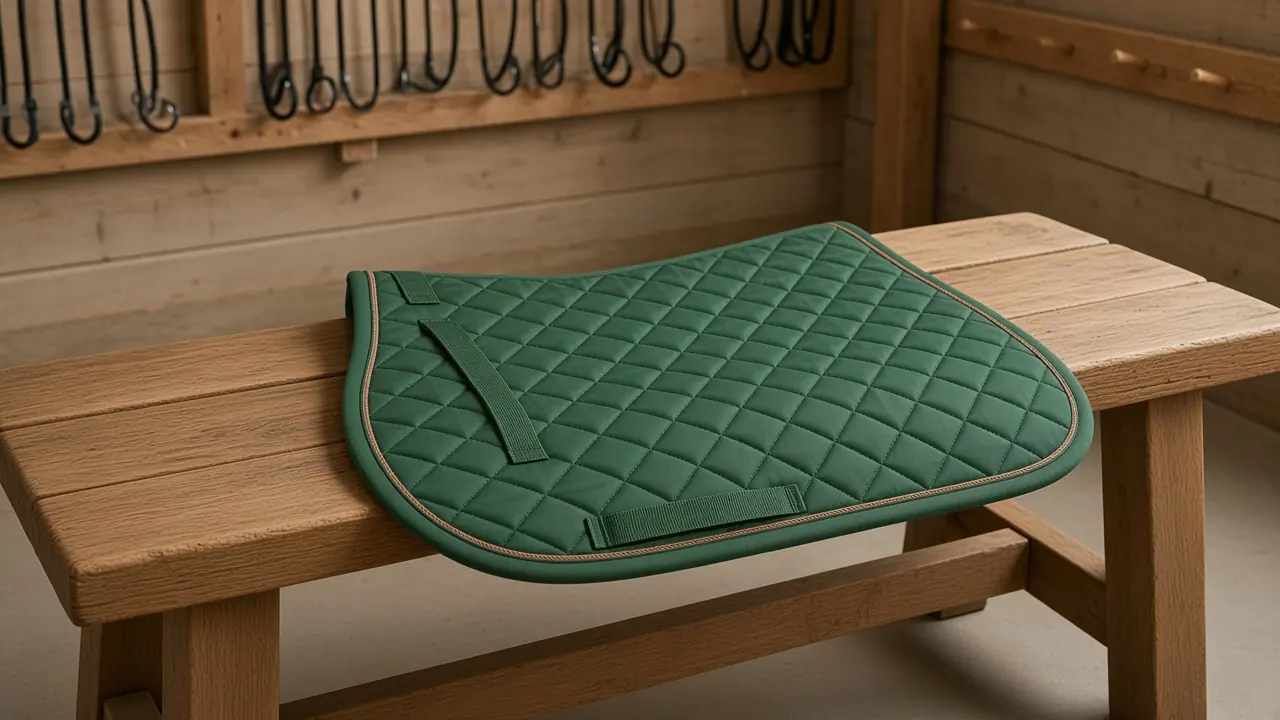
Forest cotton diamond quilting with a curved general-purpose outline, bound edges and girth loops for a straightforward daily washing routine.
£38.00Choose format →
Saddle pads / Halters / Wales
Begin with saddle coverage, then check the headpiece that handles the daily routine. Our saddle pads and halters are organised around shape, material and fastening rather than matching colours alone. Find a general-purpose pad for a rounded saddle flap, a dressage cut for a longer one, or a halter construction suited to supervised leading. Each purchase starts with a fit question, not a promise that one size suits every horse.
Plan your setupSaddle pads and halters, chosen around the horse, the saddle and the daily routine.
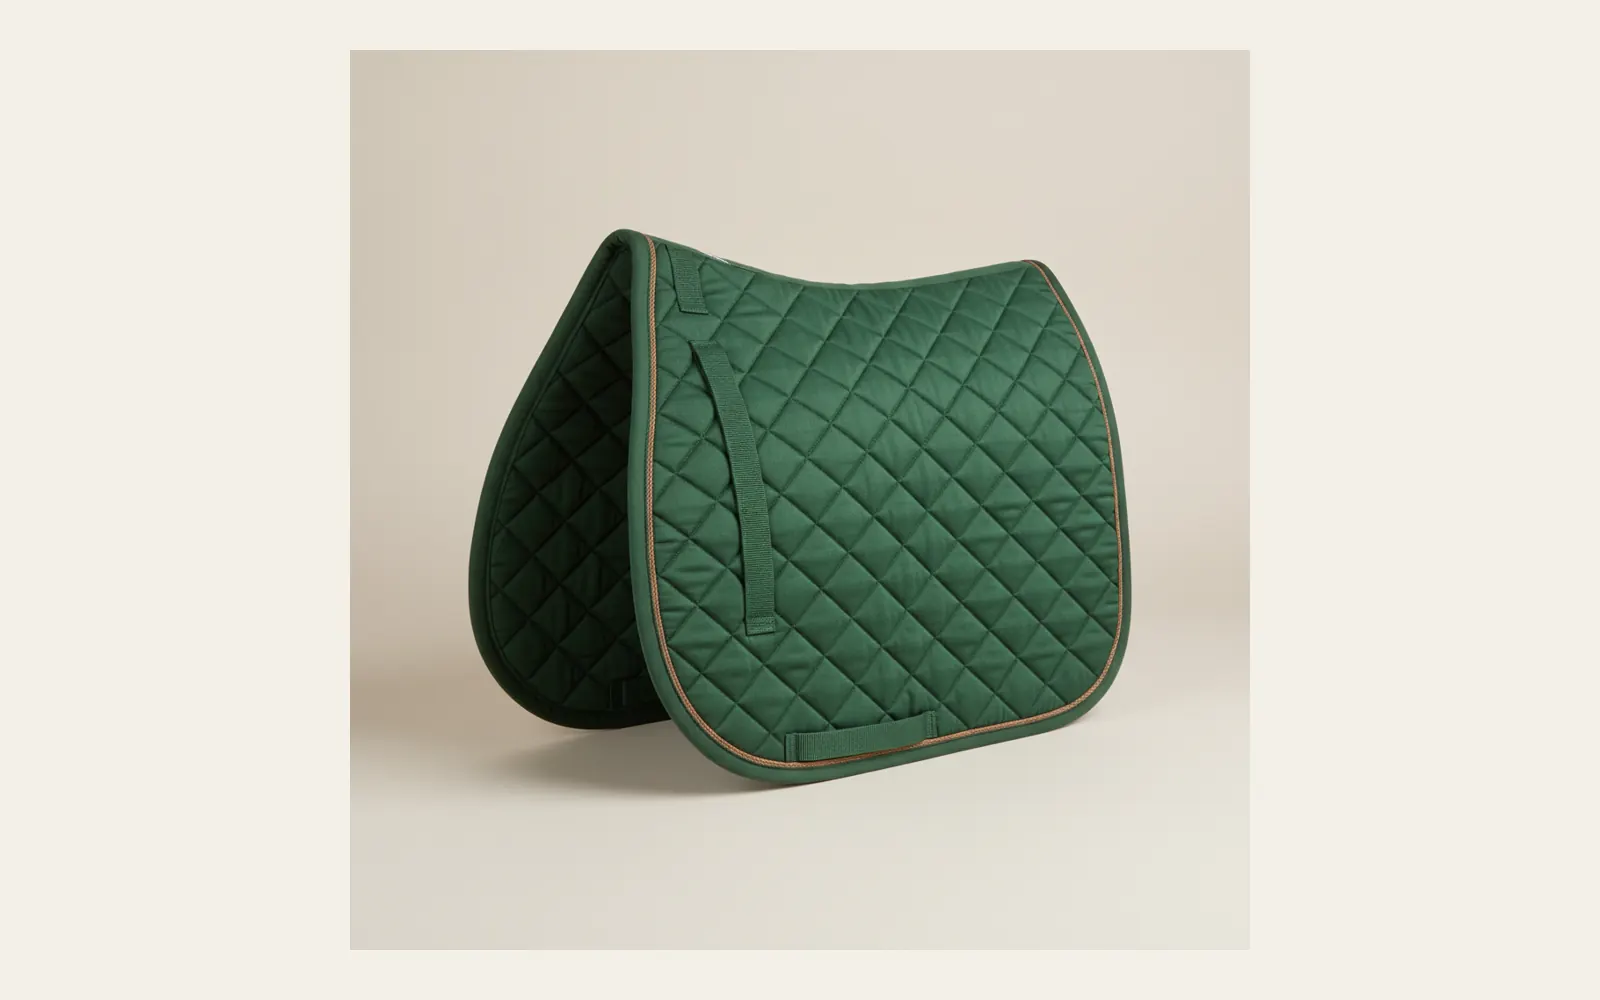
Start at the saddle interface
Forest cotton diamond quilting with a curved general-purpose outline, bound edges and girth loops for a straightforward daily washing routine.
01 / Saddle interface
A pad belongs between an already suitable saddle and the horse; extra quilting cannot resolve poor saddle fit. Lay the selected shape against the saddle footprint before fastening anything. The general-purpose cotton pad follows a rounded flap, while a dressage cut carries fabric further down a straighter one. Lift the front into the saddle channel, check that binding stays clear of pressure-bearing edges and make sure loops do not pull the pad out of position. Recheck the arrangement after girthing. If you see persistent movement, a tight channel or uneven marks, stop and seek an appropriately qualified saddle-fit assessment rather than adding another layer.
The equipment directory
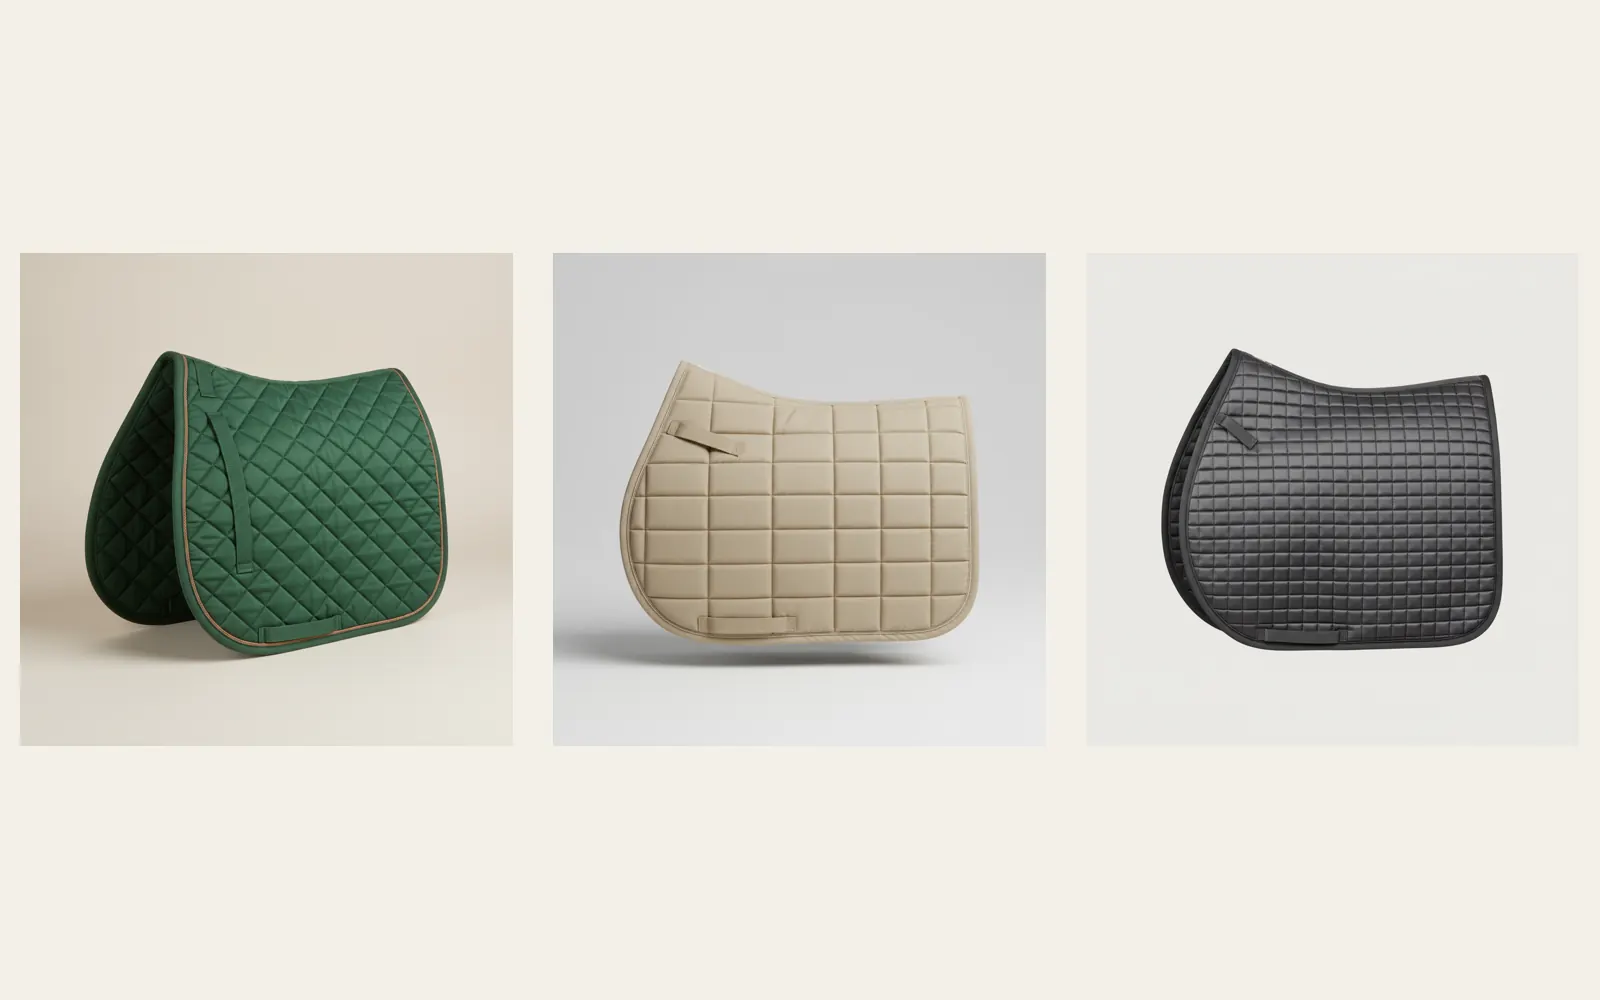
Five cuts and constructions for the saddle interface. Cotton quilting keeps an uncomplicated washing routine; a contoured dressage outline follows a straighter flap; close-contact shaping reduces unused fabric beneath a forward-cut saddle. Wool-blend felt and mesh-backed polyester offer alternative textures, not therapeutic claims. Compare the complete pad outline with your saddle, inspect the girth-loop position and leave the spine channel free. Select the format on the product page, then ask for confirmation if your saddle footprint sits close to the pad edge.
Compare the five constructions →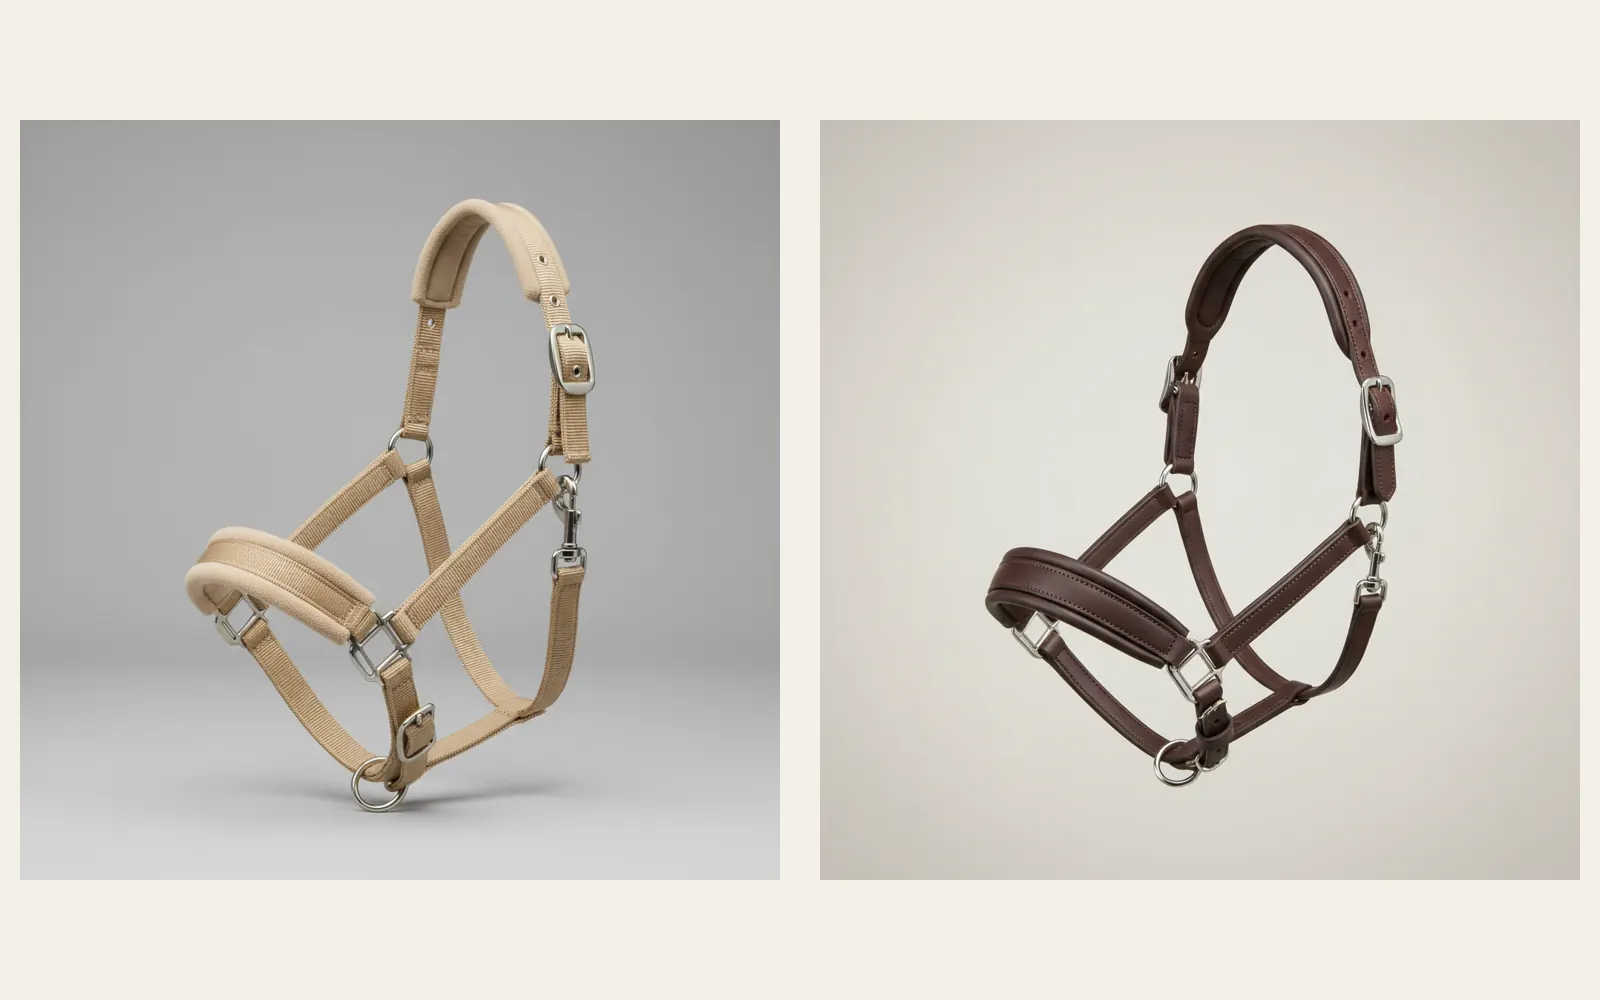
Five headcollar constructions for supervised everyday handling. An adjustable webbing halter gives a washable starting point; fleece-lined and neoprene-lined options change the contact surface; leather requires a separate cleaning and inspection routine; a flat woven cotton style offers a different hand feel. Noseband and crown adjustment must be checked on the individual horse. Pony, Cob and Full are selection labels rather than universal measurements. No halter in this catalogue is described as breakaway, safe for unattended turnout or suitable for tying without further assessment.
Compare the five constructions →02 / Selection matrix
Follow the saddle flap outline rather than the horse height alone. A longer flap needs appropriate coverage without letting excess cloth fold beneath the girth. The format selector identifies the catalogue option; it is not a guarantee that every saddle described by the same label will sit correctly.
Begin with the noseband position and crownpiece adjustment on an existing well-fitting headcollar. Head shapes vary within each label. Check that the chosen adjustment can accommodate the individual horse without the buckle sitting at its last hole or the noseband interfering with the nostrils.
Decide what you can clean, dry and inspect between uses. The catalogue names construction rather than promising cooling, correction or protection. A soft lining still needs regular checks for grit, flattened fibres and seams against the skin, especially when equipment is damp.
Individual purchase ledgers
Forest cotton diamond quilting with a curved general-purpose outline, bound edges and girth loops for a straightforward daily washing routine.
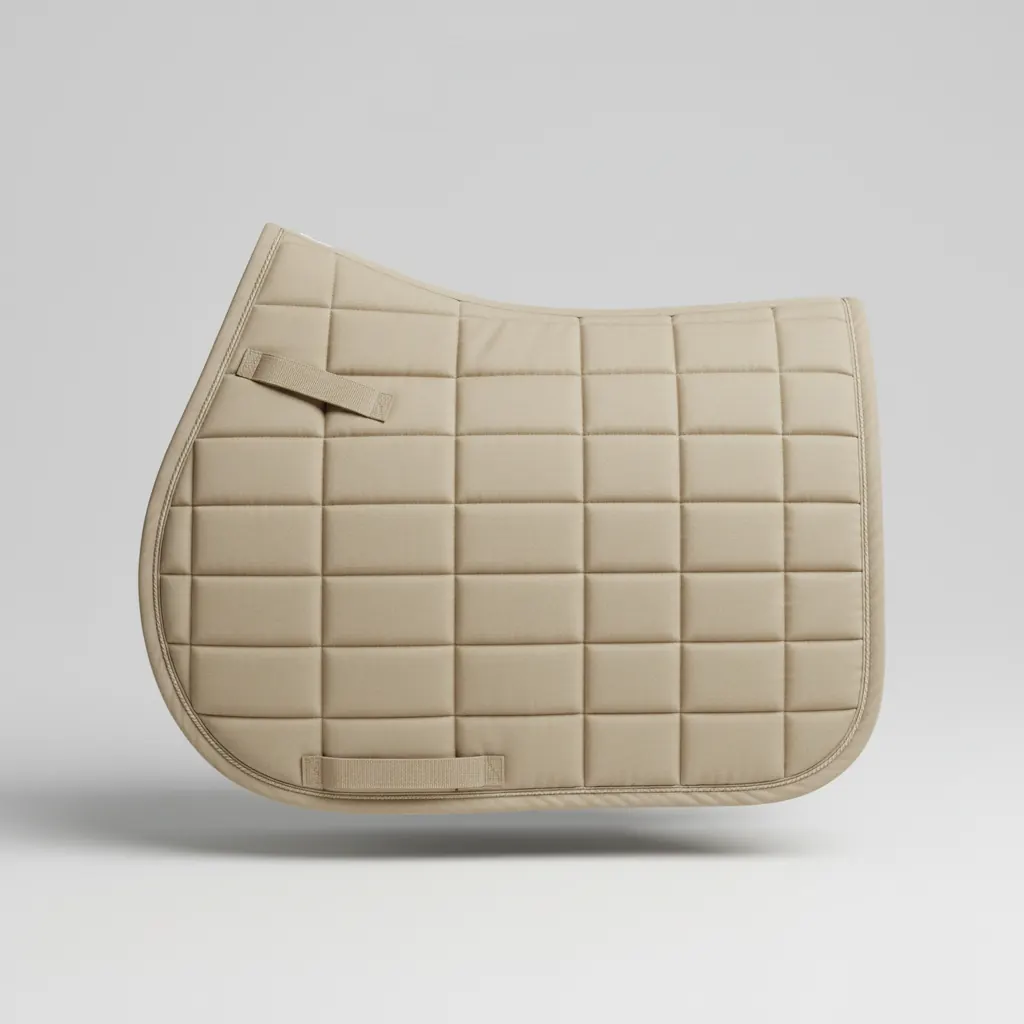
Oat polyester-cotton twill in a longer, straighter flap cut, with a shaped top line and close-spaced channel quilting.
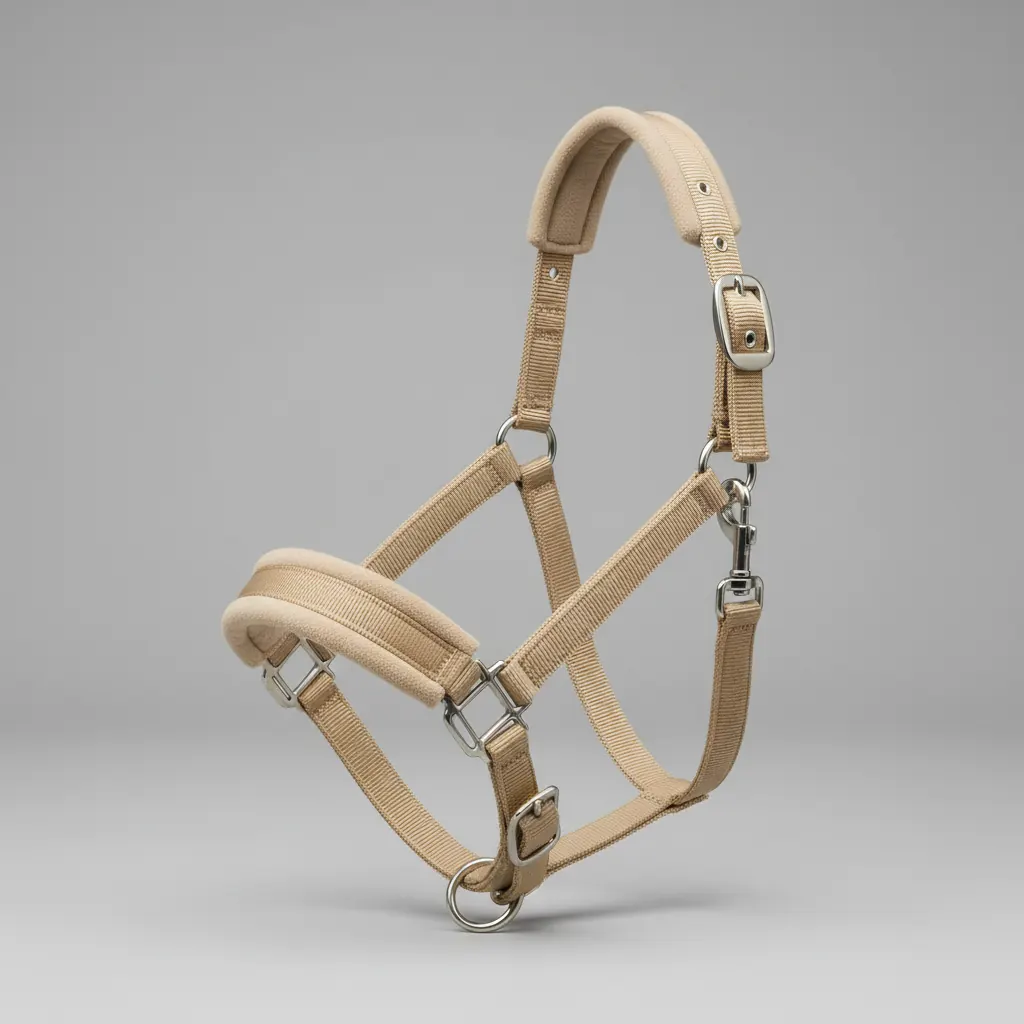
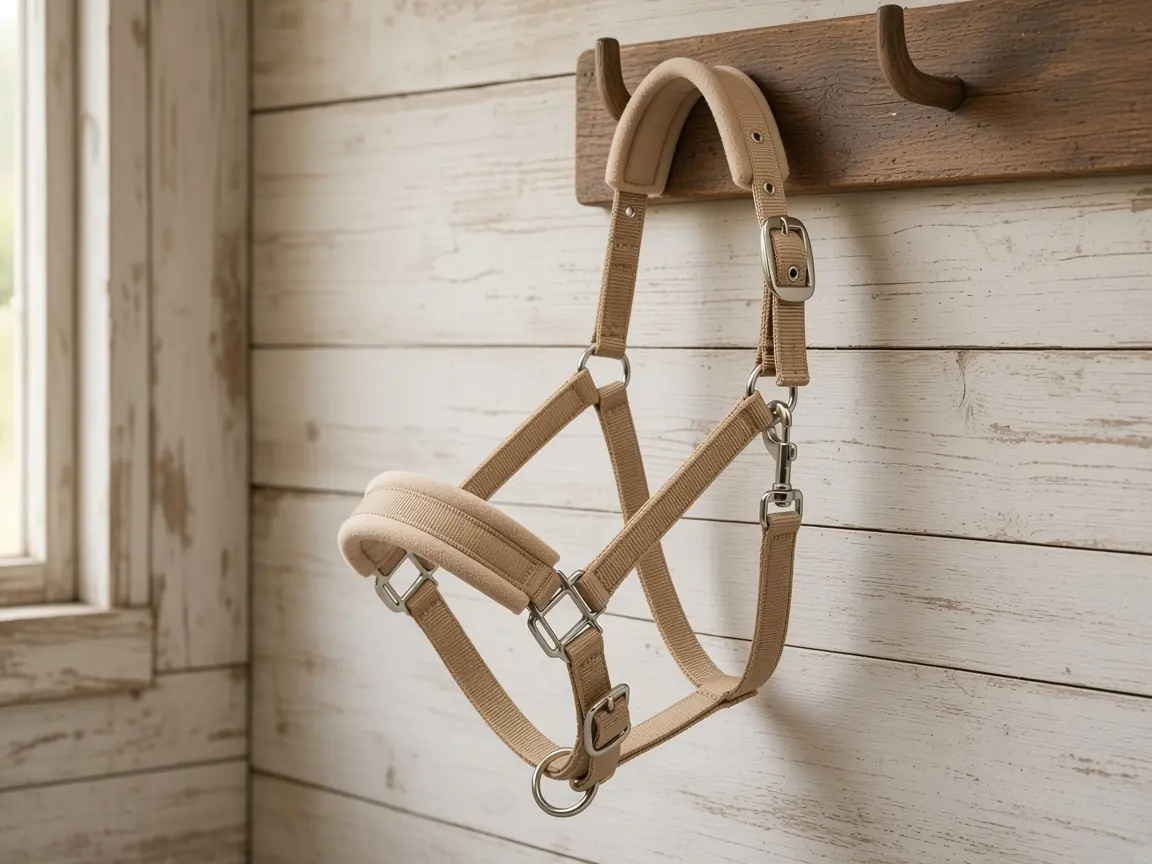
Oat polyester webbing with metal crown buckle, adjustable noseband and throat clip for supervised daily leading.
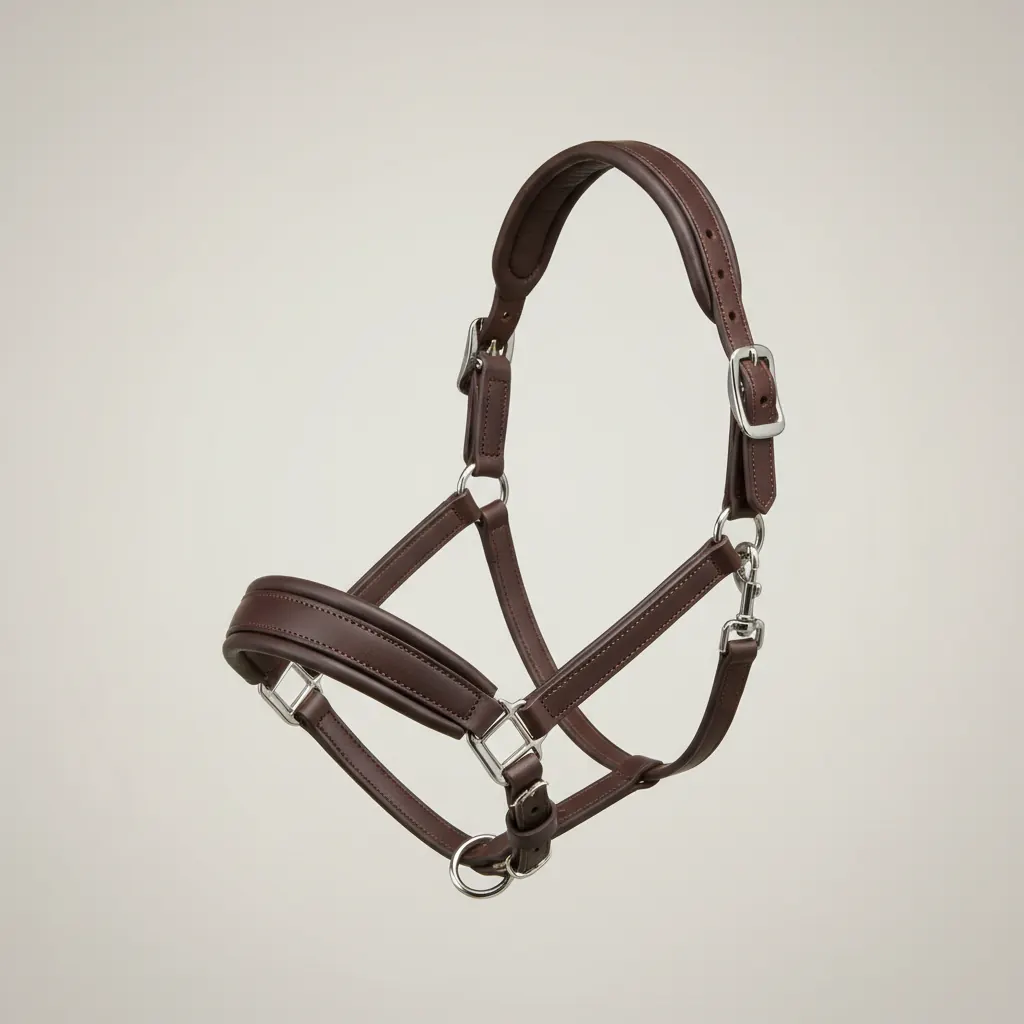
Dark brown leather headcollar with stitched leather padding, metal crown and nose buckles and an opening throat clip.
Start with the equipment you already use. Our five saddle pads cover general-purpose, dressage and close-contact shapes, while five halters offer different webbing, leather and lining constructions for supervised handling. Compare attachment points, cleaning requirements and the selected format before choosing a colour. A pad does not correct an unsuitable saddle, and a halter label cannot establish fit by itself. If measurements or compatibility remain uncertain, send the product name and your existing equipment details before submitting an order request.
03 / Equipment pairings
Consider the cotton general-purpose pad with the adjustable polyester webbing halter when a simple cleaning routine matters. These pieces do not physically attach to each other. Check saddle coverage and head adjustment independently; the value of the pairing is two distinct everyday tasks, not a bundled claim of universal compatibility.
Use the contoured dressage pad as the starting point beneath a straighter saddle flap. A neoprene-lined halter can sit alongside it for supervised leading, but does not become more suitable because the colours coordinate. Keep the pad spine clear and examine the halter contact surface separately after handling.
The wool-blend felt pad and padded leather halter call for different care methods. Felt should not be treated like a routine machine-wash cotton item; leather needs controlled drying and suitable conditioner. Choose this combination only if you can maintain both materials, and do not stack a second pad simply to make a thicker system.
04 / Measurement bench
Before buying, gather a small set of observations that can distinguish a cut mismatch from an adjustment question. Photos help when they show the entire item rather than only a buckle or quilting detail.
Measure the saddle area your current pad covers, note the saddle type and describe where the flap ends relative to the binding. Photograph the pad laid flat with a ruler alongside it. Include the requested product format so an enquiry does not rely on the ambiguous word horse-size alone.
Photograph an existing halter from the side while held flat, with the crownpiece and noseband adjustments visible. Note which holes or sliders you use and whether there is spare range. Never tighten equipment for the photograph or leave the horse unattended while checking the straps.
Tell us whether the equipment will be washed frequently, dried in a cool tack room or used on several horses under supervision. Material preference should reflect the time you have for cleaning and inspection. A removable-looking lining must not be assumed detachable unless the product description explicitly says so.
05 / Order ledger
The checkout sends an order request rather than taking an immediate payment. Keep the chosen format attached to each item and use the notes field for unresolved fit or fulfilment questions.
Choose a format on each product page, add the quantity you need and inspect the basket before submitting. Product prices are shown in pounds sterling. Delivery costs, any applicable tax treatment and availability are reviewed with the request; do not infer that a displayed item subtotal includes a confirmed delivery charge.
Supply your UK delivery address and postcode so the fulfilment options and charges can be checked. Wales is our company base, not a restriction on enquiries from elsewhere in the UK. There is no published fixed dispatch promise here. Wait for the confirmed delivery terms and payment instructions before treating the request as an accepted order.
When goods arrive, retain their packaging and compare the selected format with the confirmation. A clean indoor fit check helps preserve condition while you decide whether an item is suitable. Online consumer cancellation normally allows notification within fourteen days of receipt; the returns policy explains the following return period, deductions for excessive handling and separate rights for faulty goods.
06 / Fit-support handoff
Send the saddle type, present headcollar adjustment and product format you are considering. We can clarify catalogue details without guessing fit from a breed name or photograph alone.